Adding your first employee
Employees are at the heart of Punctulo. Once you've added a team member, they can clock in and out, appear on timecards, and be included in payroll exports. This tutorial walks you through adding your first employee record — including the Department field, Payroll ID, and automatic invitation email.
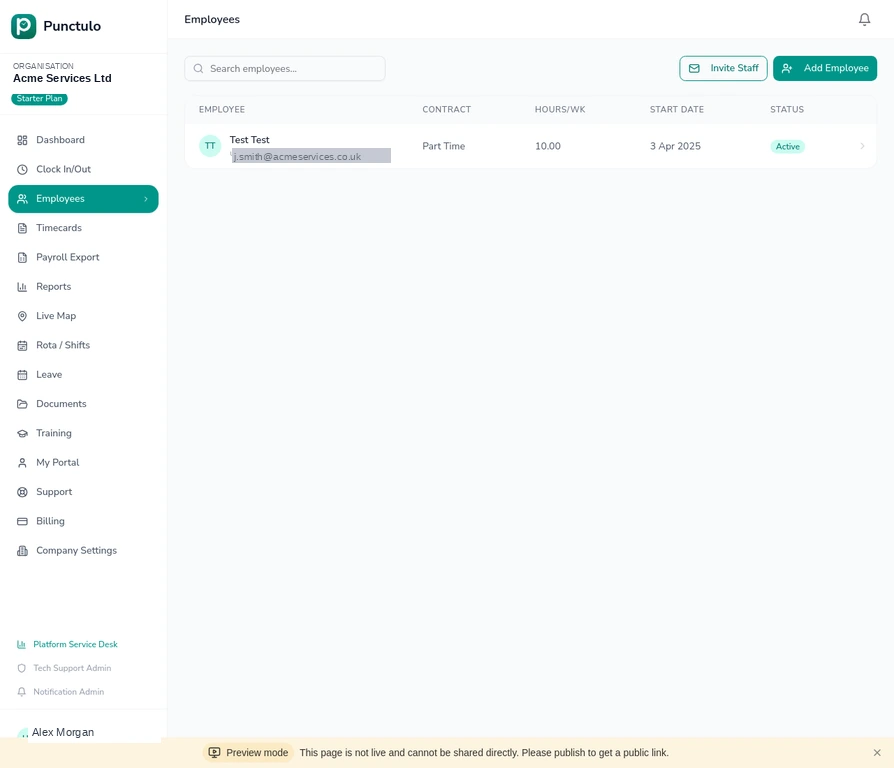
Go to the Employees page
Click Employees in the left-hand sidebar. You'll see a table listing all current employees. If this is your first time, the table will be empty.
Click 'Add Employee'
In the top-right corner of the Employees page, click the Add Employee button. A form will appear asking for the employee's details.
Enter the employee's personal details
Fill in the employee's full name and email address. The email address is used to send them an invitation link so they can log in and clock in/out.
Make sure the email address is correct — an invitation email is sent automatically the moment you save the record.
Add a Payroll ID (optional)
Enter a Payroll ID (also labelled Employee Ref) if your payroll software uses a custom reference code. This value appears in all payroll exports in the EmployeeRef column, making it easy to match records in your payroll package.
If you leave the Payroll ID blank, Punctulo will use the employee's internal ID in exports. You can add or update the Payroll ID at any time from the employee's profile.
Assign a department (optional)
Enter the employee's Department — for example, 'Cleaning', 'Security', or 'Maintenance'. This field is used to group employees on the Rota page and to filter the Payroll Export by department. You can leave it blank and update it later.
Consistent department names make filtering much easier. Agree on a standard set of department names across your organisation before you start adding employees.
Set the contract type and hours
Choose the employee's contract type (Full Time, Part Time, or Zero Hours) and enter their contracted hours per week. These values are used when calculating overtime and generating payroll exports.
Set the start date and save
Enter the employee's start date — this determines when their timecard history begins. Click Save to create the record. The employee will now appear in the Employees table and will automatically receive an invitation email at the address you entered.
If the employee doesn't receive the email, open their record and click the **Resend Invite** button. This generates a fresh invitation link valid for 7 days.