We use cookies 🍪
We use essential cookies to keep Punctulo running, and optional analytics cookies to help us improve it. We do not use advertising or tracking cookies. Cookie Policy
Bulk employee upload
If you're setting up Punctulo for the first time or onboarding a large team, the Bulk Employee Upload feature lets you import an unlimited number of employees from a single CSV file. This tutorial walks you through downloading the template, filling it in, and importing your team.
Open the Employees page and click 'Bulk Upload'
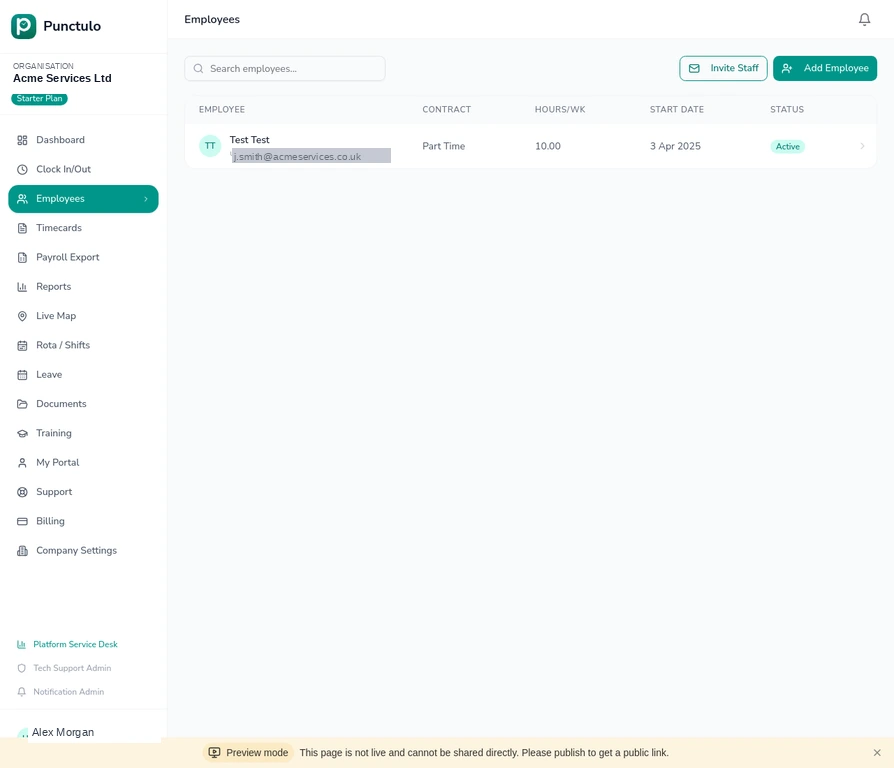
Click Employees in the left-hand sidebar, then click the Bulk Upload button in the top-right corner of the page. A dialog will open with instructions and a link to download the CSV template.
Download the CSV template
Click Download Template inside the dialog. This saves a pre-formatted CSV file to your computer with the correct column headers: firstName, lastName, email, contractType, weeklyHours, startDate, department, and employeeRef (Payroll ID).
Always use the downloaded template rather than creating your own CSV. The column headers must match exactly — including capitalisation.
Fill in the template
Open the template in Excel, Google Sheets, or any spreadsheet application. Add one row per employee. Required fields are firstName, lastName, and email. All other fields are optional but recommended. For contractType, use one of: full_time, part_time, or zero_hours. For startDate, use the format YYYY-MM-DD (e.g. 2024-03-15).
The **department** column is used for rota grouping and payroll filtering. Use consistent department names across all rows — for example, always use 'Cleaning' rather than a mix of 'Cleaning', 'cleaning', and 'Clean'.
Upload the file and review the preview
Save your spreadsheet as a CSV file, then drag it into the upload area in the dialog (or click to browse). Punctulo will parse the file and show a preview table of all rows. Each row is validated — rows with errors are highlighted in red with an explanation. Rows whose email address already exists in your organisation are highlighted in amber and will be skipped during import.
Fix any red rows in your spreadsheet, save, and re-upload. You do not need to remove the amber (duplicate) rows — they will be skipped automatically.
Import the employees
Once you're satisfied with the preview, click Import X Employees (where X is the count of valid, non-duplicate rows). A progress bar will appear while the import runs. When complete, a summary shows how many employees were created successfully.
There is no row limit — you can import hundreds or thousands of employees in a single upload. For very large files (1,000+ rows), the import may take a minute or two.
Verify the import and send invitations
After the import, return to the Employees page. The new employees will appear in the table. Each employee will automatically receive an invitation email at the address you provided. If any invitations need to be resent, open the employee's profile and click Resend Invite.